Wondering if it’s better to lay sod or seed your lawn? Each method can help you achieve a lush, green landscape. However, choosing the right option for your property will depend on several factors. This includes costs, maintenance, and your lawn’s existing condition.
To help you decide, we’ll review the differences between these two landscaping techniques:
- Sod is pre-grown strips of grass with its roots intact. It traditionally comes in rolls of turf, which you lay (or roll) over your soil in even rows. Sod is typically grown from 100% Kentucky Bluegrass. Fescue blends are also available upon request as a specialty item.
- Grass seed is the seed you plant into your soil, so it can germinate and take root to sprout fresh, thick green blades of grass. It is completely customizable to your site.
Benefits of Sodding a Lawn
Laying sod is a popular option for new home construction and lot development. The reason? Sod takes considerably less time to establish a new, attractive lawn.
Sod is grown under ideal conditions at a farm, then cut, rolled up and sold in landscape centers and nurseries. For that reason, it may not adapt well to all sites. Especially sites with a lack of adequate sunlight. It is difficult to customize sod to your exact site conditions.
Once properly installed and maintained, sod will eventually take root in the soil. On average, you can enjoy a finished lawn in less than 3 weeks. And once the roots are established, your turf can start to handle regular foot traffic.
But there is another reason why you may consider this method. If weeds make up over 50% of your lawn, sodding (or resodding, if you’ve already laid sod) may be the best option.
Let’s review a few other benefits of sodding a lawn:
Controls Erosion: On slopes or lawn areas that experience erosion issues, sod works like a thick buffer to help keep topsoil in place.
Reduces Weeds: When you correctly install and maintain sod, your turf will develop a deep root system that quickly outcompetes weed seeds (already present in the soil) for nutrients. And when grass roots soak up the majority of the nutrition in the soil, weed seeds are less likely to thrive.
Wider Window for Planting: You can install sod at anytime during the growing season, including the fall, as we typically experience cooler temperatures and seasonal rain to help sod root quickly.
Benefits of Seeding a Lawn
With grass seed, your lawn grows in the same place, undisturbed. This differs from sod, which must adapt to new growing conditions after installation. It’s important to note here that one of the most essential and labor intensive steps in laying sod is soil preparation. You need to give the sod a healthy foundation to take root and grow, so prepping the soil will require a significant amount of time, skill, and labor before the actual “sodding” part begins.
Homeowners typically use seeding in areas without grass or if the grass has worn away and needs repair. It is completely customizable to your site, however it takes much longer to fully fill in. For a thick, lush lawn, you’ll generally need 6-8 weeks or even one full growing season.
Here are a few other benefits of seeding your lawn:
Repair Existing Lawns: Though you can use grass seed to grow an entire lawn, many homeowners utilize this method to repair bare patches or damaged grass.
DIY Friendly: Though seeding a lawn requires you to prepare the soil and water consistently, all while monitoring nutrient deficiencies for optimal growing conditions, the process is similar to other types of planting.
Comparatively, sodding requires careful measuring and correct sod placement to prevent gaps or overlaps that could result in dead turf. Therefore, the process is entirely different and may require experience from a landscaping company.
Lower Cost: As you may imagine, the cost of sod comes at a higher initial price point. This can range anywhere between $0.60 to $1.29 per square foot. As noted above, because there is a risk of installing sod incorrectly, preventing it from taking root, you may decide to hire a landscaping company to do the work, which will also increase costs.
A quick note on seeding
Seeding should not be confused with overseeding. The latter involves adding new grass seed over your existing turf—without turning the soil. By overseeding a lawn, you can thicken grass density, introduce enhanced grass varieties to your lawn’s microclimate, and improve color to an ideal lush green.
Sodding a Lawn vs. Seeding: Which Is Right for You?
Deciding which grass growing method is best for you will ultimately depend on the following 4 factors:
Budget—Whether you decide to DIY sod or hire a professional landscaping company, remember that this investment requires initial time, the use of equipment, and manual labor.
Lawn goals—If you’re looking for other grass options, seed is available in more grass varieties and blends than sod. However, if you’re looking for an instant, pre-grown lawn, sod is the better option.
Seasonality—As previously mentioned, sod can be installed anytime during the growing season, while the ideal time for seeding is between late summer and early fall.
Lawn’s Condition—Finally, depending on the current state of your lawn, you may have no better option than to start over and reseed or resod your property. An experienced lawn care company can help you decide which method will offer you the best choice for your yard!
Find More Lawn Care Tips
Stay connected to our blog for more helpful articles and lawn care tips. At Organic Lawns by LUNSETH, we offer professional and experienced lawn care services to solve even the most challenging lawn issues.
We’re always here to answer your questions and help you find an organic solution to keep your grass in optimal condition—year after year!
Contact us with questions or to learn more about our organic treatment programs.


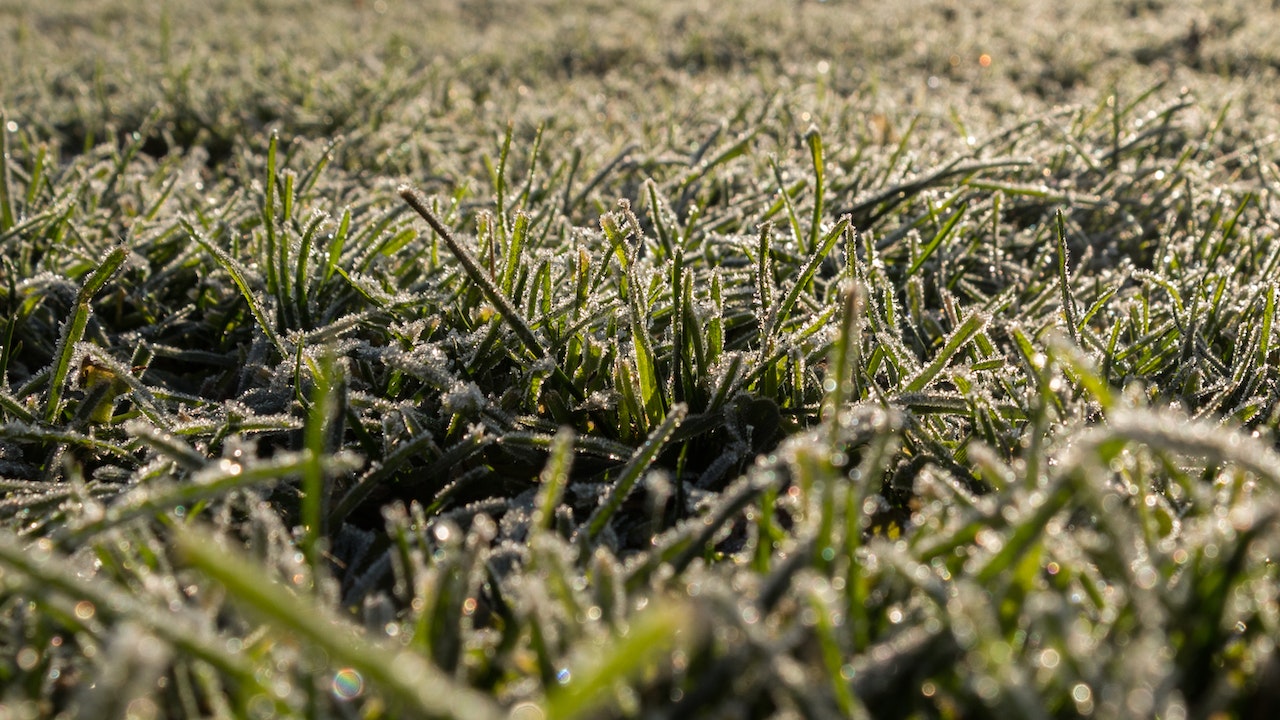
 Fall is on the best time to overseed. Establishing grass now means it has less competition with weeds, and the cooler nights and sunny days allow for the successful germination of our cool-season grasses. In addition, immature grass does better over the winter than it does dealing with the stresses of summer. So getting it started in the fall optimizes its ability to establish in the spring.


 Prostrate knotweed looks a little like prostrate spurge, but it is easy to distinguish the two. The knotweed has symmetrical leaves that are arranged in an alternating pattern along the length of its runner. It also lacks the milky sap that is typical of the spurge. The knotweed germinates very early in the spring and can sometimes be found peeking through as the snow melts. It was identified at its earliest this year at the Turfgrass Research Center, in February! It looks a little like grass when it first emerges, and is sometimes mistaken for emerging crabgrass. The knotweed will usually show up six to eight weeks or even more, before crabgrass.
 Yellow woodsorrel (better known as oxalis and shamrock), is an annual or a weak perennial in northern regions of the United States. It is easily recognized by its three-part leaf with distinct heart-shaped leaflets and its yellow flowers with five petals. It germinates in midsummer and often becomes a problem in August.
 Black medic is considered an annual clover, even though it is not part of the clover
 Prostrate spurge, as its name would indicate, grows in a prostrate manner along the surface of the ground. It has leaves that are paired opposite one another along the length of its runner. The individual leaves are asymmetrical, meaning that they are not the same on both sides of the midrib. Some varieties will have a purple/red spot on the middle of the leaf. If the stem is broken, a drop of milky sap will form at the end of the broken stem. This sap can irritate the skin, so wear gloves when hand pulling this weed. Spurge and knotweed can be mistaken for each other, but knotweed does not produce a milky sap when the stem is broken and its leaves grow in an alternating pattern. Spurge generally germinates later than goosegrass, which germinates later than crabgrass.