Crabgrass is a common warm-season annual that’s a member of the grass family. The problem is that most people don’t think of it as a grass and want it gone! There are two primary species of crabgrass: the large or hairy crabgrass (Digitaria sanguinalis) and small or smooth crabgrass (Digitaria ischaemum). Chances are you have one or both.
Why Does Crabgrass Thrive?
There’s a reason you probably can’t keep up with crabgrass spreading in your yard. It’s one of the most persistent weeds around and a prolific seed spreader. The University of Minnesota Extension Service explains that crabgrass survives harsh conditions through its abundant tillering (creation of shoots other than the main shoot) and seed production. Its structure allows up to 150,000 seeds per plant to be produced in a single season. It’s no wonder it’s hard to keep it under control.
The UMASS Extension Center states that crabgrass seeds germinate best from early spring to late summer. And it continues to grow until midsummer when days become shorter. This is when its growth slows and the plants enter the reproductive stage.
Controlling Crabgrass
Crabgrass is generally controlled with preemergence herbicides that are applied before the seeds germinate. LUNSETH controls crabgrass with an early and heavy application of corn gluten meal, aiming to get it down before the soil temperatures reach 55°F. Unfortunately, we have no organic post-emergent solutions for crabgrass. Synthetic herbicides, such as Quinclorac, can kill it and are best applied during the first tillering stage.
It’s important to remember that controlling crabgrass isn’t a quick fix. UMASS Extension warns that crabgrass cannot be controlled in one growing season because of the great number of viable seeds that can accumulate in the soil from years of infestation. It takes several years of controlling crabgrass seed production to reduce the viable seed supply.
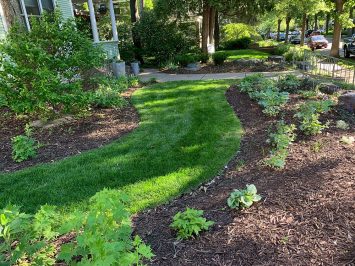
The good news is that good cultural practices can result in a healthier, denser turf, which in turn increases its overall competitive nature and decreases the severity of crabgrass infestations. Some crabgrass infestations can be significantly reduced with the use of appropriate and well-timed cultural practices.
Conclusion
The experts at Organic Lawns by LUNSETH help our clients control crabgrass organically by emphasizing soil health, proper maintenance practices, and natural remedies. By integrating these methods into your lawn care routine, you can gradually reduce crabgrass while promoting a vibrant and resilient grassy landscape. Embracing organic solutions not only protects the environment but also contributes to a healthier and more sustainable outdoor space for you and your family to enjoy.


 Perennials started popping up earlier than normal this spring. And our steady rains have helped mine thrive and I hope yours have, too. But we still need to make sure we do what’s needed to help them succeed through all the conditions a Minnesota summer will throw at them. Here are some great perennial care tips from our friends at the


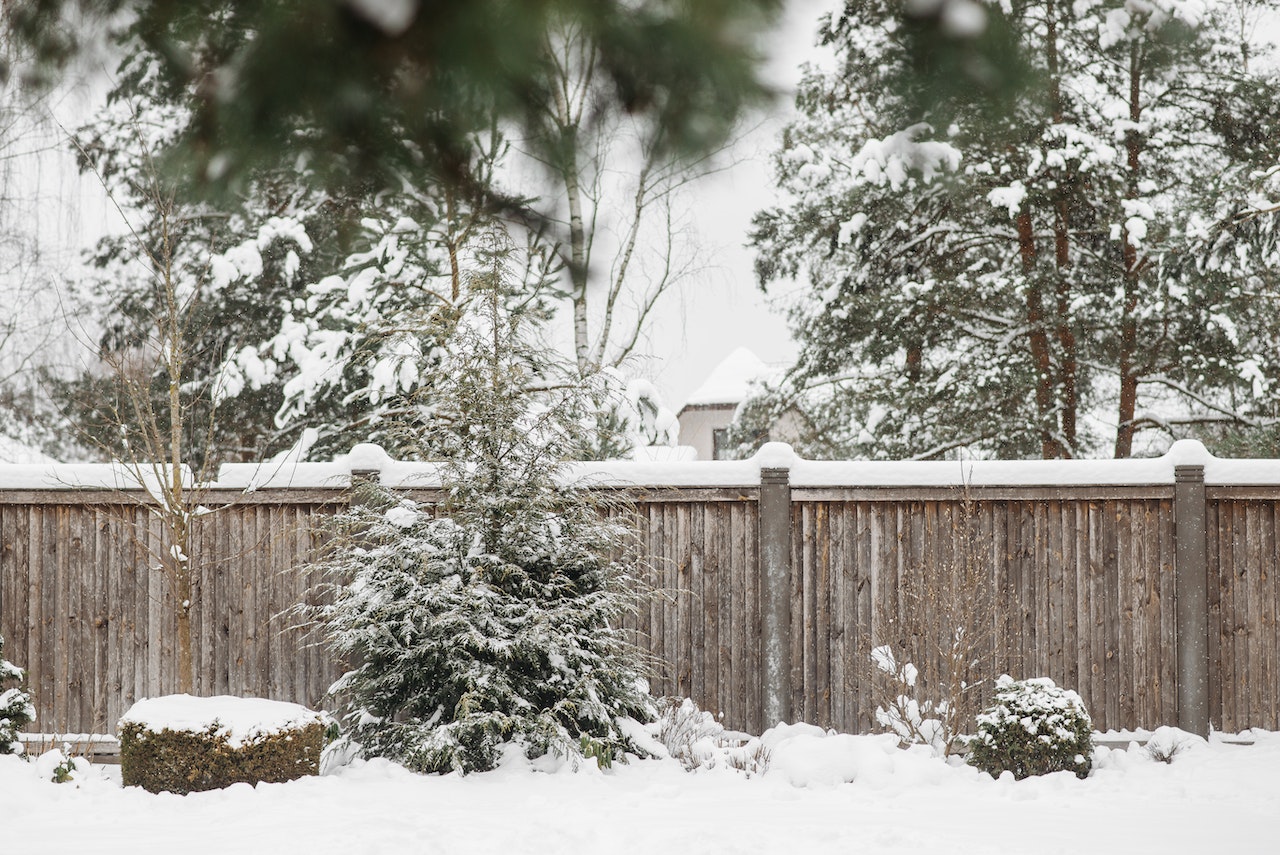
 Prostrate knotweed looks a little like prostrate spurge, but it is easy to distinguish the two. The knotweed has symmetrical leaves that are arranged in an alternating pattern along the length of its runner. It also lacks the milky sap that is typical of the spurge. The knotweed germinates very early in the spring and can sometimes be found peeking through as the snow melts. It was identified at its earliest this year at the Turfgrass Research Center, in February! It looks a little like grass when it first emerges, and is sometimes mistaken for emerging crabgrass. The knotweed will usually show up six to eight weeks or even more, before crabgrass.
 Yellow woodsorrel (better known as oxalis and shamrock), is an annual or a weak perennial in northern regions of the United States. It is easily recognized by its three-part leaf with distinct heart-shaped leaflets and its yellow flowers with five petals. It germinates in midsummer and often becomes a problem in August.
 Black medic is considered an annual clover, even though it is not part of the clover
 Prostrate spurge, as its name would indicate, grows in a prostrate manner along the surface of the ground. It has leaves that are paired opposite one another along the length of its runner. The individual leaves are asymmetrical, meaning that they are not the same on both sides of the midrib. Some varieties will have a purple/red spot on the middle of the leaf. If the stem is broken, a drop of milky sap will form at the end of the broken stem. This sap can irritate the skin, so wear gloves when hand pulling this weed. Spurge and knotweed can be mistaken for each other, but knotweed does not produce a milky sap when the stem is broken and its leaves grow in an alternating pattern. Spurge generally germinates later than goosegrass, which germinates later than crabgrass.